
How to Set Up a Charging Station for Devices at Home
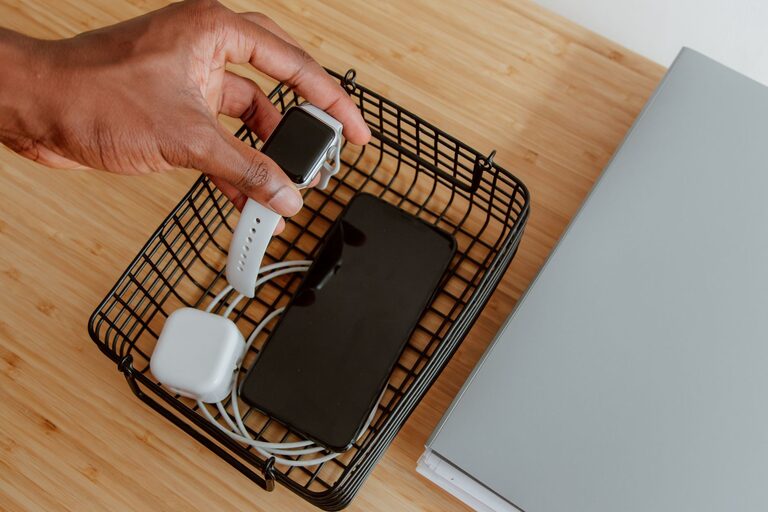
Setting up a dedicated charging station for your devices is a simple way to keep your space organized and ensure your gadgets are always ready to use. Whether you have smartphones, tablets, smartwatches, or other rechargeable electronics, a charging station can reduce clutter and make charging more convenient.
In this guide, we’ll walk you through the process of creating an efficient charging station tailored to your needs.
Why Set Up a Charging Station?
A charging station helps centralize all your device chargers in one spot. This makes it easier to:
– Avoid tangled cords and misplaced chargers
– Save space on desks, countertops, or nightstands
– Charge multiple devices at once without searching for outlets
– Keep your devices organized and accessible
Step 1: Choose the Right Location
The first step is deciding where your charging station will go. Common spots include:
– Desk or workspace
– Kitchen countertop
– Living room side table
– Bedroom nightstand
– Entryway console table
Look for a location with easy access to power outlets and a flat surface to hold devices securely.
Step 2: Select Charging Equipment
The equipment you’ll need depends on the devices you want to charge. Here are some options:
Charging Hubs and Stations
– Multi-port USB chargers: These plugs provide several USB ports in one unit, capable of charging multiple devices simultaneously.
– Wireless charging pads: Ideal for smartphones and earbuds that support wireless charging. Some chargers can handle several devices at once.
– Charging docks: Designed for specific devices like smartwatches or phones, docks hold devices upright and charge them neatly.
Charging Cables
– Have cables compatible with all your devices (USB-C, Lightning, Micro-USB).
– Consider longer cables or cable organizers for flexibility and tidiness.
Power Strip or Surge Protector
– Use a power strip with enough outlets for your chargers.
– A surge protector adds safety by protecting devices from power spikes.
Step 3: Organize Your Setup
An organized station reduces clutter and frustration. Try these tips:
– Use a cable organizer: Cable clips, ties, or sleeves keep cords neat and prevent tangling.
– Label your cables: Especially useful if multiple people use the station or different devices require similar cables.
– Use small containers or trays: To hold adapters, earbuds, or small accessories.
– Mount or hide cables: Some prefer to attach cables to the back or underside of the table for a clean look.
Step 4: Arrange Devices Properly
Place devices so they are:
– Easily accessible while charging
– Not stacked on top of each other to avoid overheating
– Positioned to avoid blocking each other from power access
If using a wireless charging pad, make sure the device’s charging coil aligns correctly with the pad.
Step 5: Safety Considerations
Keep safety in mind:
– Avoid overloading outlets or power strips.
– Use certified chargers to prevent damage.
– Place the charging station in a well-ventilated area to prevent devices from overheating.
– Keep liquids away from the charging area.
Optional Enhancements
– Add a small lamp or nightlight for charging stations used at night.
– Incorporate a clock or organizer tray to maximize the utility of the station.
– Decorate with plants or photos to blend the station with your home style.
Maintenance Tips
– Regularly check cables for wear or damage.
– Clean dust and debris from chargers and ports.
– Rearrange or upgrade when adding new devices.
Conclusion
A well-planned charging station simplifies device management and keeps your space orderly. By choosing the right location, equipment, and organization methods, you can create a charging hub that suits your lifestyle and tech needs. Start with a simple setup and customize it over time to match your devices and preferences.
Happy charging!